The Many Uses of the Displace Filter
In a recent tutorial we showed you how to create realistic water reflection using the Displace Filter in Photoshop.
This prompted many requests to explain just how the Displace filter works and how you can use it for other applications. We aim to please, so here it goes.
The function of the Displace Filter is to distort a pattern or image in a particular shape of your choosing. In order to warp your pattern, you need to create a map for the filter to know in what shape to contort itself. For this reason, you need to create your displacement map before you apply the Displace filter to your image.
Properties of a Displacement Map
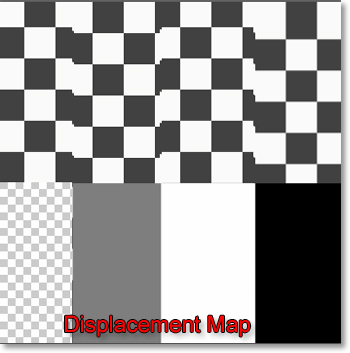
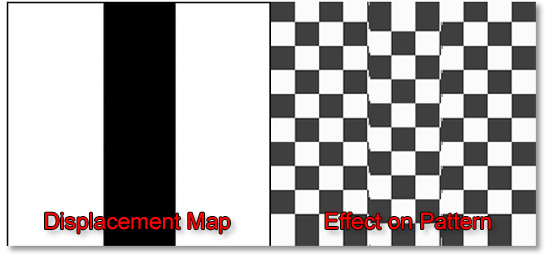
The displacement map distorts according to tone. White pushes the pattern in one direction. 50% gray is neutral and doesn’t distort the image at all. And black pushes the pattern in the opposite direction of white. White is the same as no pixels, so a gradient from black to transparent is the same to a displacement map as a gradient from black to white.
The image below shows the effect of the displacement map on a checkerboard pattern. The clear and white portions on either side of the gray have been pushed up and the black portion has been pushed down.
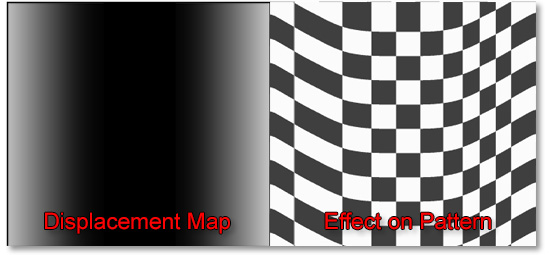
A gradient from white to black or clear to black will produce a gradual pattern shift.
A soft-edged line will produce a less gradual pattern shift.
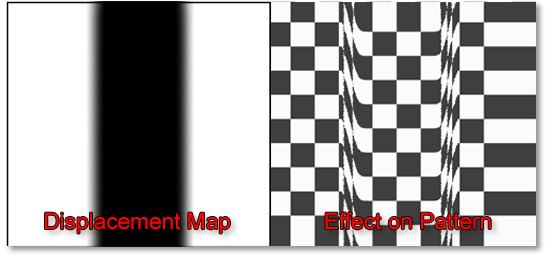
A sudden line from white to black will produce a sudden pattern shift.
Creating a Displacement Map
To illustrate this step, we will be using one of our blank drape templates from EZbackgrounds.com. We will be applying this scene to this drape and then apply a displacement map to add more realism.
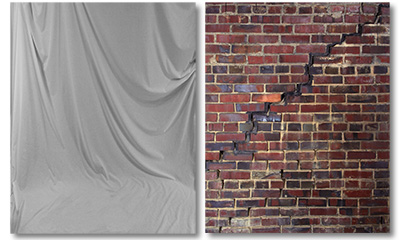
First apply a Gaussian Blur of about two to five pixels to the drape template. Normally, you would desaturate your image at this point, but this image is already in grayscale.
Save the image as a psd. You have just created the displacement map that we will use later.
With both images open, select the scene and press Ctrl+A to select the entire image, then Ctrl+C to copy the selected image. Click on the drape template and press Ctrl+V to paste scene to the drape. Another way to do it would be to select the Move Tool (V), click and hold to drag the scene to the drape.
With the Move Tool selected or while pressing the Ctrl key while in a different tool, align the scenic layer over the drape template as desired.
Applying the Displace Filter
When you are ready to apply your displacement map, select the scenic layer and go to Filter>Distort>Displace. You will be presented with a dialog box for the Displace filter.
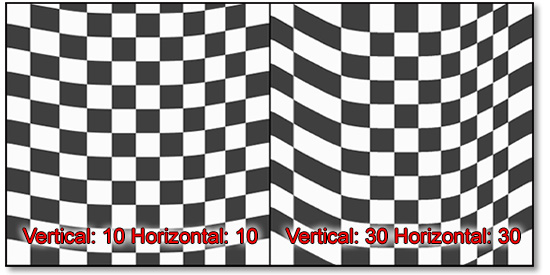
There are two text fields entitled “Horizontal Scale” and “Vertical Scale”. The numbers entered here will determine the intensity of the offset effect. You can enter values from -999 to 999. Personally, I’ve never gone above 50 and that was pretty intense. The image below illustrates the differences the settings have on the effect.
For the purposes of this tutorial, I have selected a setting of 30 for vertical and horizontal. The following is an image of the before and after of the effect applied.
Set the Displacement Map set to “Stretch to Fit” and the Undefined Areas set to “Repeat Edge Pixels”.
You will want to change the blending mode. In order of preference, I would try Soft Light, Overlay, Multiply and Screen.
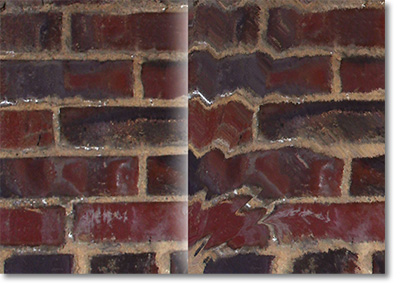
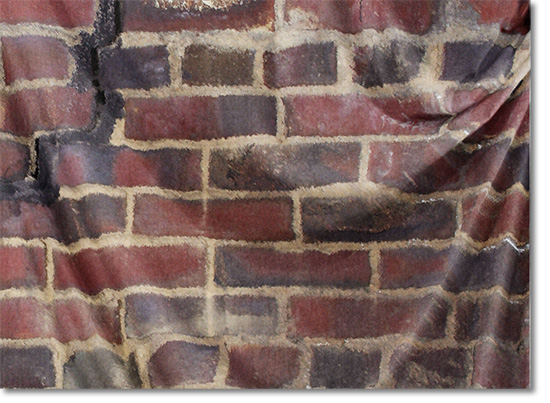
My go-to method is to use Soft Light blending mode, then duplicate the layer and reduce the opacity of the duplicated layer. Adjustments in contrast to the drape layer are likely need. A bump to the shadows slider in Levels will usually do it. Here is a close-up of the drape and bricks blended and the displacement map applied.
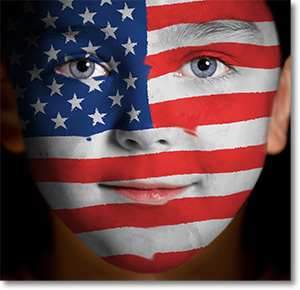
The applications are numerous including applying images to flags, faces, shirts, cars and more.

Stay updated with all our new releases and articles by signing up for our free email updates. We only send emails once a week to keep you updated and we NEVER spam or share your information.